Web-site creation: gallery
In this lesson I will be create my portfolio and gallery pages in program Wix, and will be add my finalized picture
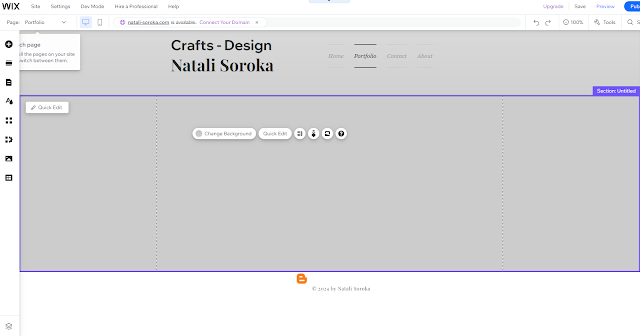
First I change the background color, click on the bottom change background and i choice grey color
Than I add the image of my project, I click Add menu on the left, chose image and clicked Upload, and I using transform tools to change the size and position image.
Next I create new page clicked "add elements" in the menu, on bottom Site pages and menu, and click add page ang add name, clicked on the Text name my project and click on the 3 dotted on the menu page and click done subpage
Then I change the background the same color like in the portfolio, I add title my project click on the bottom text, chose heading and then change fonts at Rubic Medium, font size 36pts, then I move my bottom on the center. Then I come back on the left menu I click add tool and chose Gallery and chose landscape orientation for my project.Then I add the bottom for the navigation, I click on the left hand menu and then click on the bottom, then I customize my bottom, than I change the text "Back to Portfolio" and add ling page to my portfolio, and design my bottom font I didn't chance.
Then I come back to portfolio pages and add menu bottom, and done the same what I did on the project page. Design and background the same. Then I add link to my project page and click double the bottom. Then I click 'preview' on the top menu and check them. then, I add image to my gallery, I clicked on 'manage media' add my own image, sort them and click done. Then I click bottom preview in the top menu and tested my gallery


Well done for adding this - good process and some technical detail
ReplyDelete