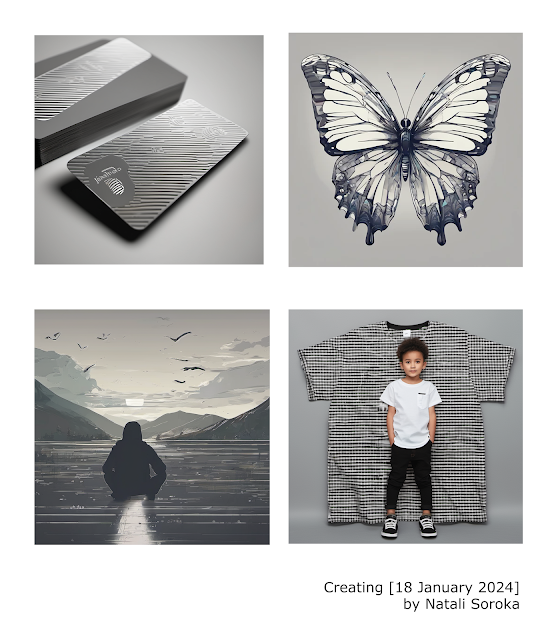
Sequential Images Class Practice
I opened Pixlr E and clicked create “New Image”, print and chose format A3 picked my title and wrote name 'Creating ' than clicked on Background and choose the white background and create. I clicked 'File' in the top menu and started to choose my images from my desktop. The image were save on jpeg format.
Then I individually to added each image and completed the following actions I clicked on the image tab to see the image.
Then I went to ‘Select’ in the top menu and clicked on ‘select all’ than clicked 'select' and copy.
After I went back to my canvas and went to ‘Edit’ and ‘paste’ and my image appeared on my canvas. I done the same process for my other three image. My next step was clicked on the ‘Text’ tool in the left menu to make a title. I moved title to the lower right corner.
I checked thoroughly all the images and chose File on the top menu, than Export and Export image as PNG. I chose my desktop as my save location. Here is the final piece:
In this lesson I learned how to use the program Pixlr E and make a photo collage with a Title. It was very interesting experience.


Comments
Post a Comment